
How To Resurface Concrete?

Resurfacing concrete is one of the most popular home improvement projects out there. Concrete resurfacing can add so much to a home without causing a financial burden and the potential designs are limitless. Although it is always recommended to engage the services of a professional. If you wish to DIY, concrete resurfacing products are available in the market for your extra convenience. All you have to do is to get them and use them according to your preferences. Here at BF Spray paving, as we specialize in concrete resurfacing. We commonly get the question of ‘how do you resurface concrete?’ all the time. So we have decided to write this DIY article to answer all your questions.
However, please bear in mind that this is an overly simplified guide and that our actual process includes many more detailed steps.
WHEN SHOULD YOU GO AHEAD WITH CONCRETE SURFACING?
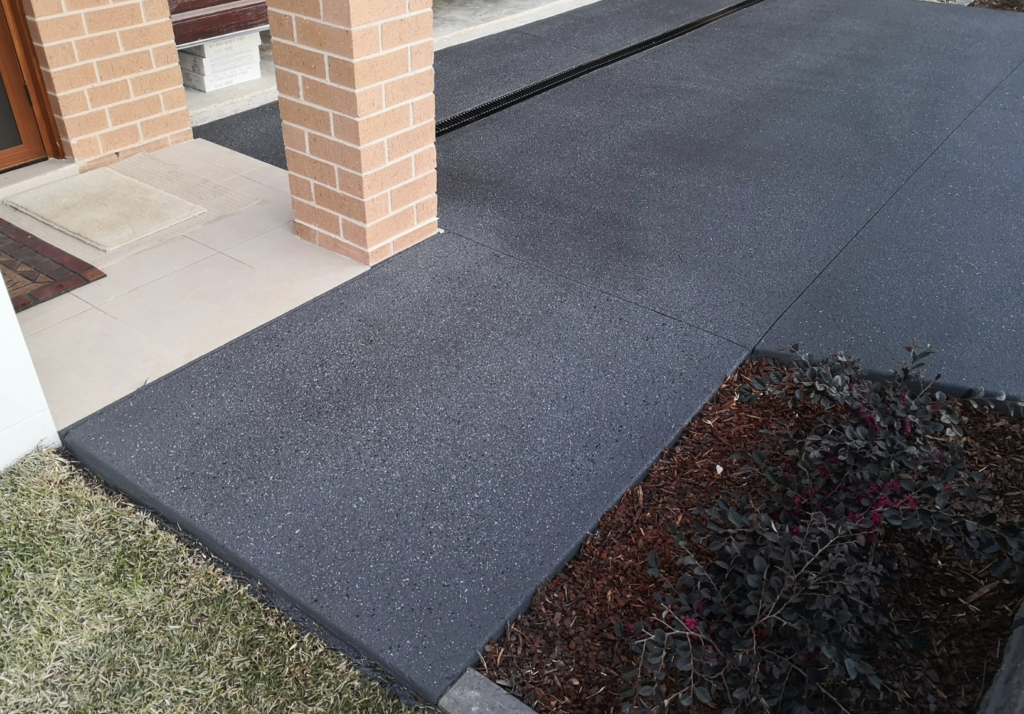
If you see that a concrete structure or a slab that you have at home is in good shape, but cosmetically marred, you should consider going forward with resurfacing. Once the job is complete, the surface will look completely new again, while at the same time strengthening the existing concrete. However, it is also important to keep in mind that the concrete resurfacing does not correct heaving or deep cracking. It is only capable of covering over routing flaking that is noticeable on the surface.
WHAT DO YOU NEED TO DO CONCRETE RESURFACING?
Before you embark on a DIY concrete resurfacing project, you need to make sure that you are well equipped with all necessary materials. Here is a list of items that you should get before venturing into a concrete resurfacing project.
- Power washer
- Garden hose
- Broom
- Concrete edger
- Long handled squeegee
- ½ inch drill
- 5-gallon plastic bucket
- Bags of concrete resurfacer
DIY CONCRETE RESURFACING STEPS
Once you have all the items ready, you will be able to begin your resurfacing project. There are some prominent steps associated with this process . We will provide you with a quick overview of those steps that you can easily follow. However, please bear in mind that concrete resurfacing is a skill that takes years to successfully master. If you wish to get it done right the first time, without any issues. Please contact a concrete resurfacing specialist within your local area.
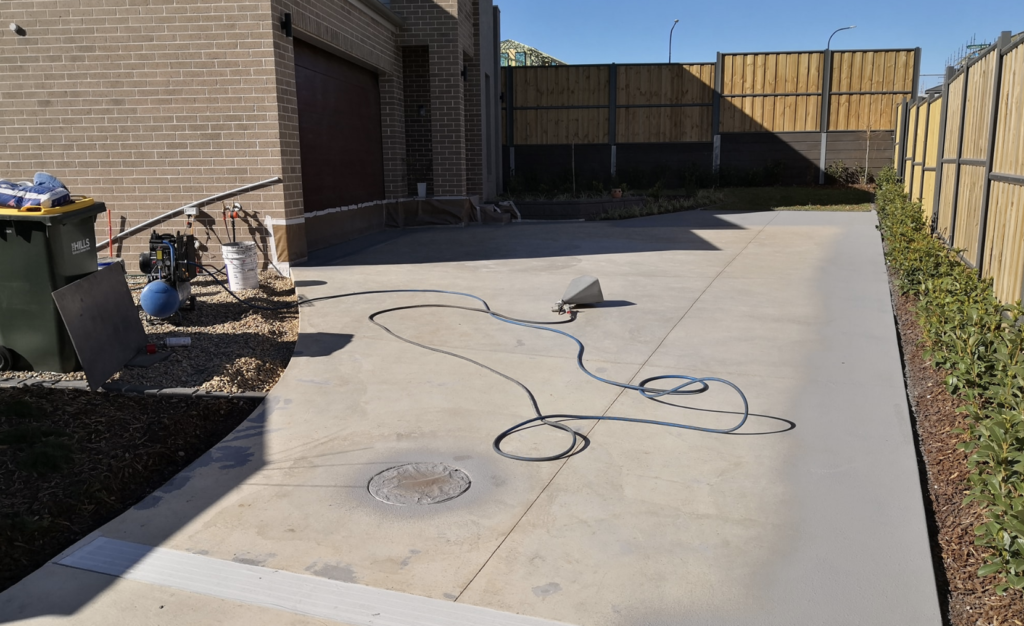
PREPARING THE SURFACE
Before you use the concrete resurfacer, you should properly clean and prepare the surface. This will significantly influence the result of your final product. You need to make sure that you are getting rid of all loose debris at the time of cleaning the surface by a high pressured hose (e.g a gurney). We personally use a gurney as the high pressured hose helps get rid of all the loose dirt in an effective manner.
You need to make sure that you are removing all sorts of paint, and oil stains that can be found on top of the concrete resurface as well. Even if you see tree sap, you should remove it. Otherwise, the resurfacing will not produce effective results.
You should also make sure that all the expansion joints are provided with enhanced protection while you are applying the resurfacer (e.g the corners and edges around your resurfacing area). You should go ahead and mask the control joints with duct tape. This way you can ensure that the resurfacer doesn’t stain your house etc.
MIXING THE RESURFACER
Once you are done with preparing the concrete surface. You can then proceed to the next step, which is mixing the resurfacer. You need to follow directions as advised in the resurfacer to get an effective mixing job done. In most of the instances, you can get the resurfacer in 18 kg bags. You will need to mix one such bag with 2.8 L of water. It is better if you can use cold during warmer temperatures and vice versa.
After you mix the resurfacer, you can then pour it into buckets which you will need to mix for a few minutes, so that it becomes smooth. You can also add a bit more of the resurfacer if needed which will result in a pourable mix. If you wish, you can also add concrete colouring into this mixture as well.
APPLYING YOUR RESURFACER
Now you have the resurfacer ready you just need to go ahead and apply it. The most convenient method available for you to apply is to drop a small amount of the mixture onto the surface of concrete and start spreading it. You need to make sure that you are spreading it evenly to get the best possible results. You will also be able to use a brush or a towel for the application process.
It is always better to work in segments. A segment shouldn’t be over 144 square feet at a given time. If possible, you are also encouraged to think about segmenting the work that you have. Then you will be able to work with these edges with ease.
When you are resurfacing the edges of your slab, you will need to think about using a concrete edger. This can provide much-needed support and assistance and it will create a cleaner look.
In some instances, you will have to go ahead and apply a secondary coat as well. In such a situation, you should allow the concrete surface to dry for about three hours. Then you can proceed with the same steps and apply the concrete resurfacer again. Even though most of the concrete resurfacer manufacturers encourage you to go ahead with a second coating, you need to keep in mind that this is optional, however we do recommend it for optimal results
ALLOW TO CURE
Now you are done with the job and you just need to allow the concrete resurfacer to cure. When the concrete resurfacer is hardening it will seep into the existing concrete and strengthen it. You need to make sure that you wait for at least 8 hours before walking on the resurfaced surface. In addition to this, you will need to wait for at least two days before you can drive on top of it. At the time of curing, you should keep the resurfacer slightly moist. You should only cover it with a plastic during a rain.
TRUSTED, RELIABLE, AFFORDABLE CONCRETE RESURFACERS
Although professional concrete resurfacer will carry out many more steps in a more methodical manner to get truly remarkable results. We did our best to include the main steps that you can carry out in a DIY project. However, if you are located within Sydney and want to ensure that you get a fantastic result at an affordable price. Contact BF Spray Paving today for a completely FREE consultation and quote. We proudly provide concrete resurfacing and concrete polishing to every Sydney region and offer 100s of design combinations. If you are looking for some inspiration, you can also view our before and after gallery here.